


How to Raise Chickens: Nursery Stage
A guide from day 1 through 21, the most transformative 3 weeks of your chicks' lives

So you’ve done it! You’ve successfully set up your brooder and you’ve got a few hours of chicken-raising under your belt. The new peeps have filled their little crops with chick starter, found the water, and are starting to doze off in the warmth. You, perched on your overturned bucket, are enjoying the wafts of fresh pine from the brooder floor, and rocking to the chirpy music of your new flock. Ready or not - you are a chicken farmer. (For the preceding article in this chicken series: How to Raise Chickens: the box to the brooder)
Let’s call this the “nursery stage” of chick-rearing, shall we? Like babies, your chicks will need you to feed and water them, supplement them (grit), incrementally introduce new foods (greens), change their diapers (shavings), and tuck them in to bed (heating elements).

Over the next 3 weeks, you’ll put more time and effort into your flock than at any other stage. But don’t get discouraged! This too shall pass and while this is the most labor-intensive phase, it is - in my opinion - the most fun.
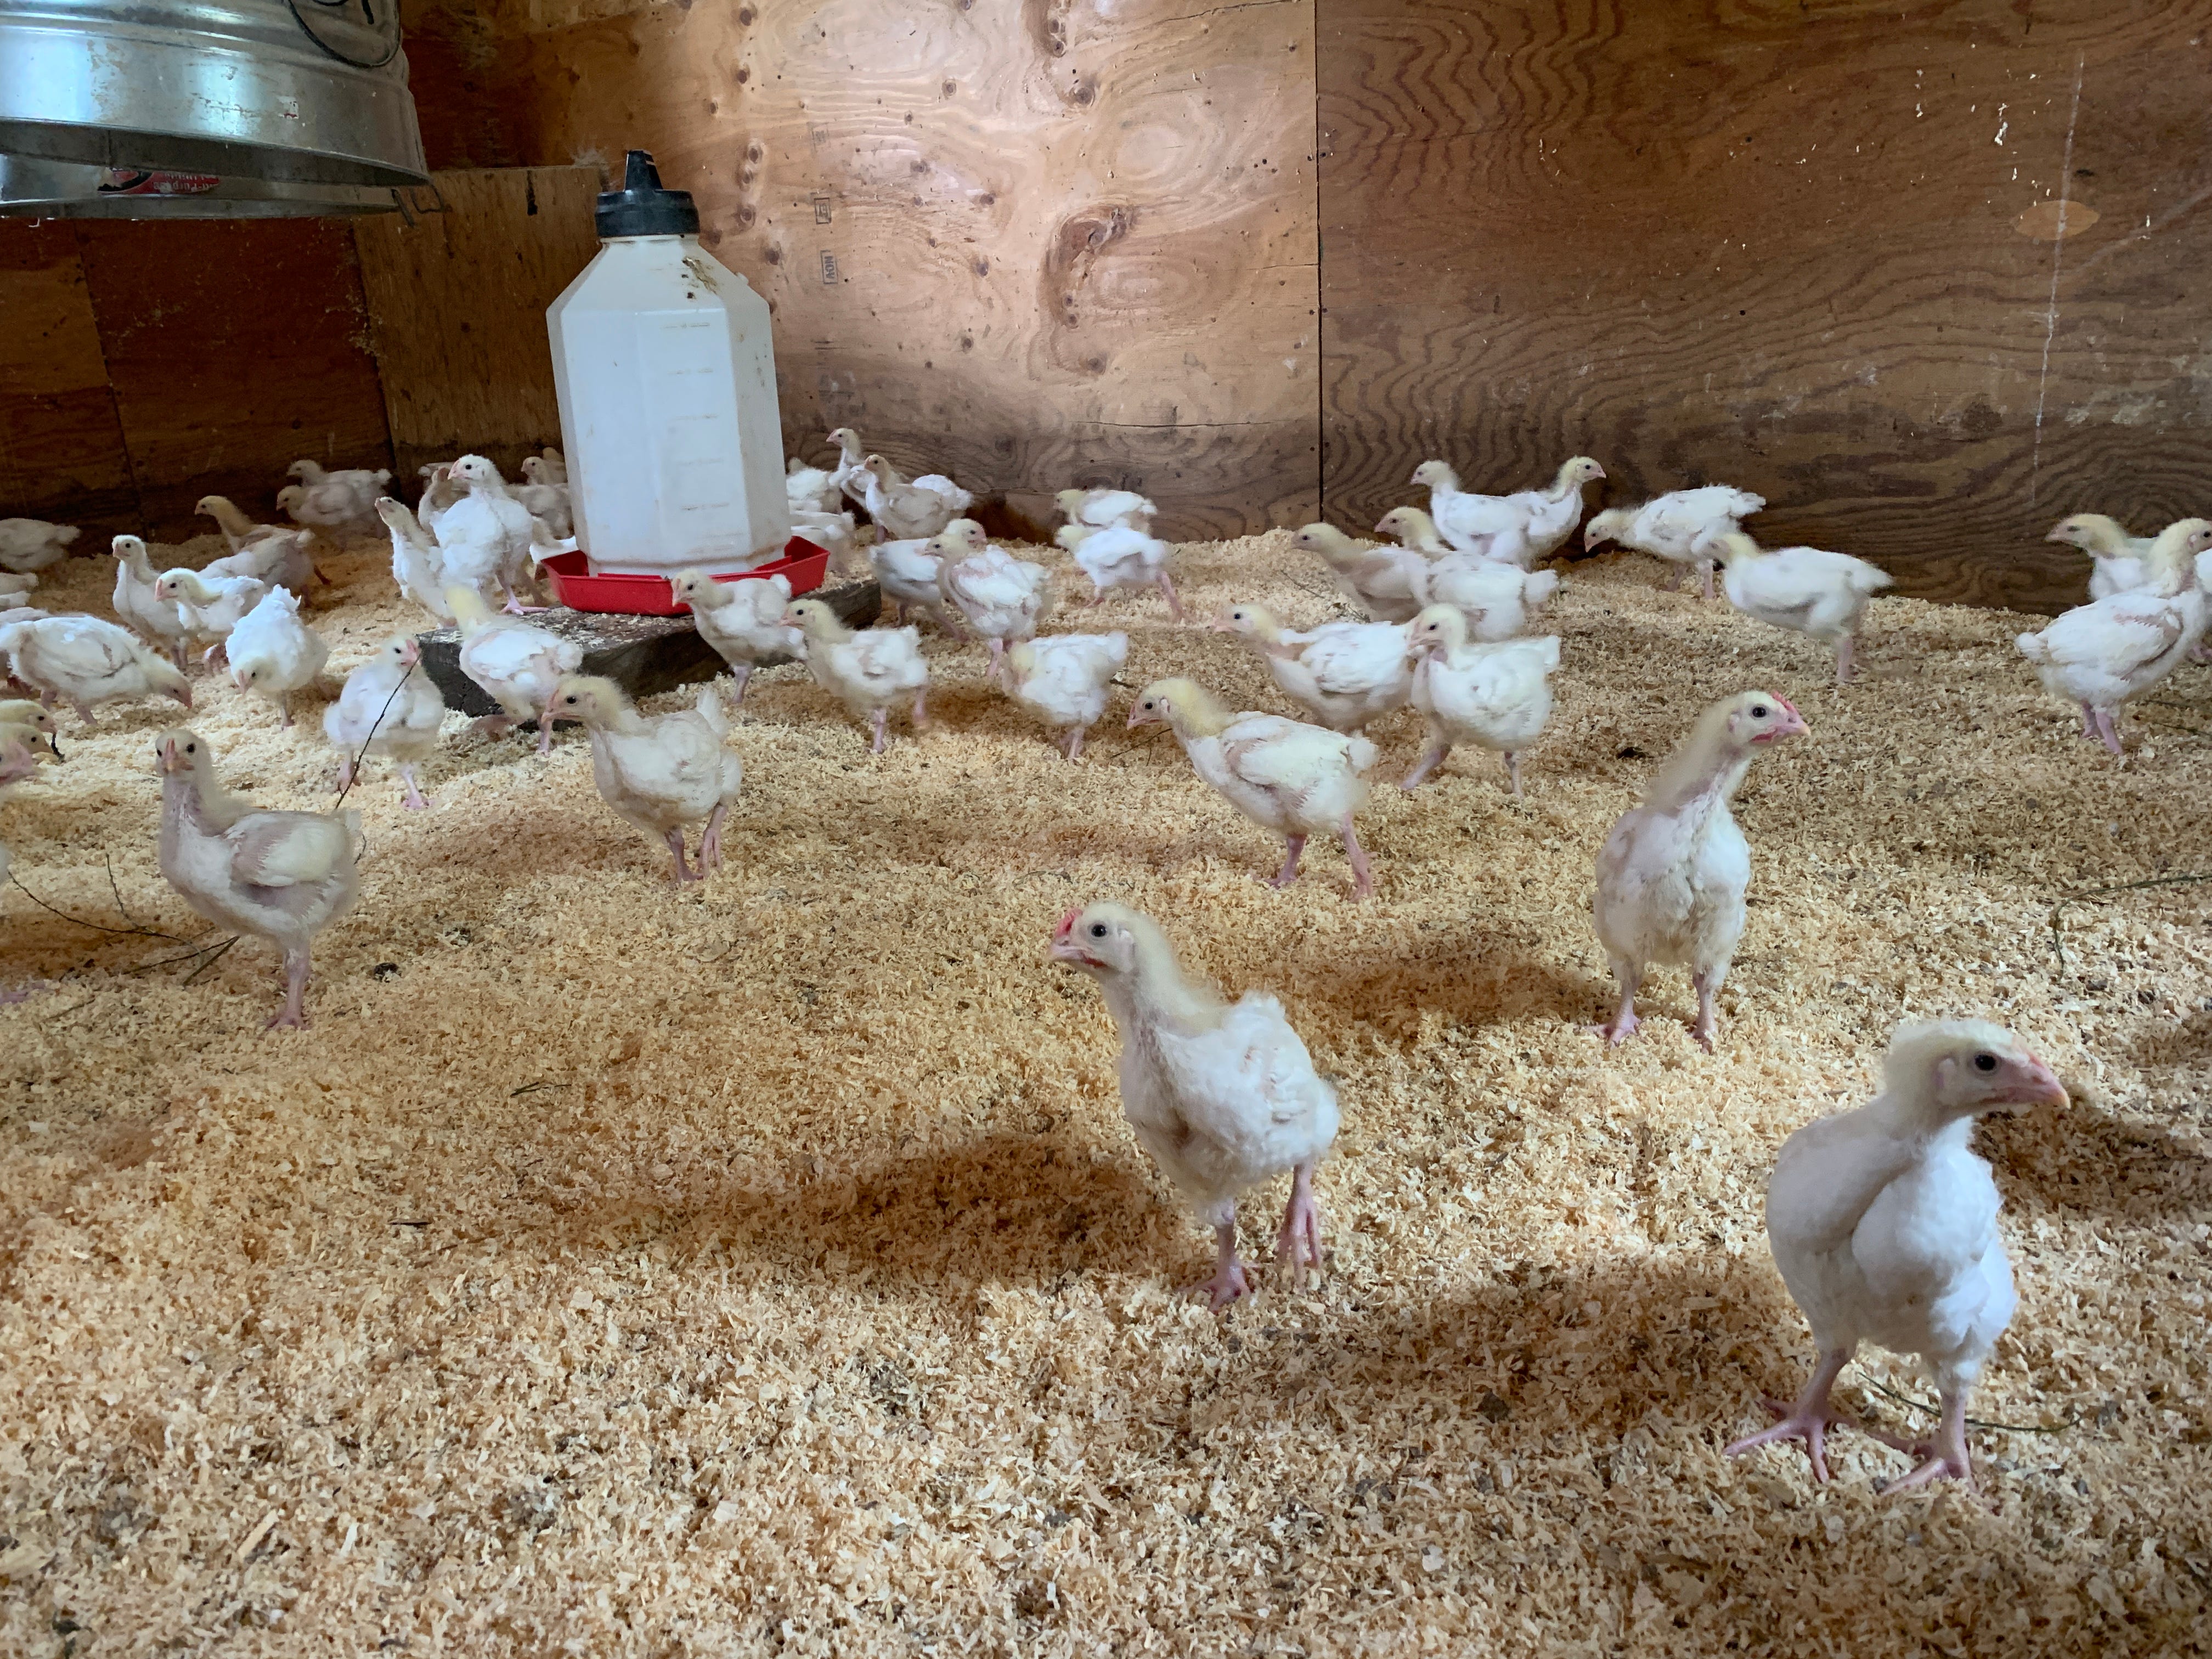
This guide will tend toward catering to meat-bird chicks, more specifically Cornish x Rock meat birds (the white, chunky ones). They are the neediest of needy chickens in existence. That said, if you can keep Cornish cross “meaties” alive, you can definitely use these tools to be successful with laying hen chicks.
Here are 8 essentials for maintaining a healthy brooder during the “nursery stage.”
Temperature control
The first 4 days of your chicks’ lives are the most critical for maintaining the brooder floor temperature at 90 degrees F. After day 4, you can start to decrease the floor temperature by 1-2 degrees daily for the next 4 days, as tolerated by the birds. Thereafter, the temperature can be tapered by 3-4 degrees daily until 3 weeks of age, or until you reach ambient temperature (whichever comes first).
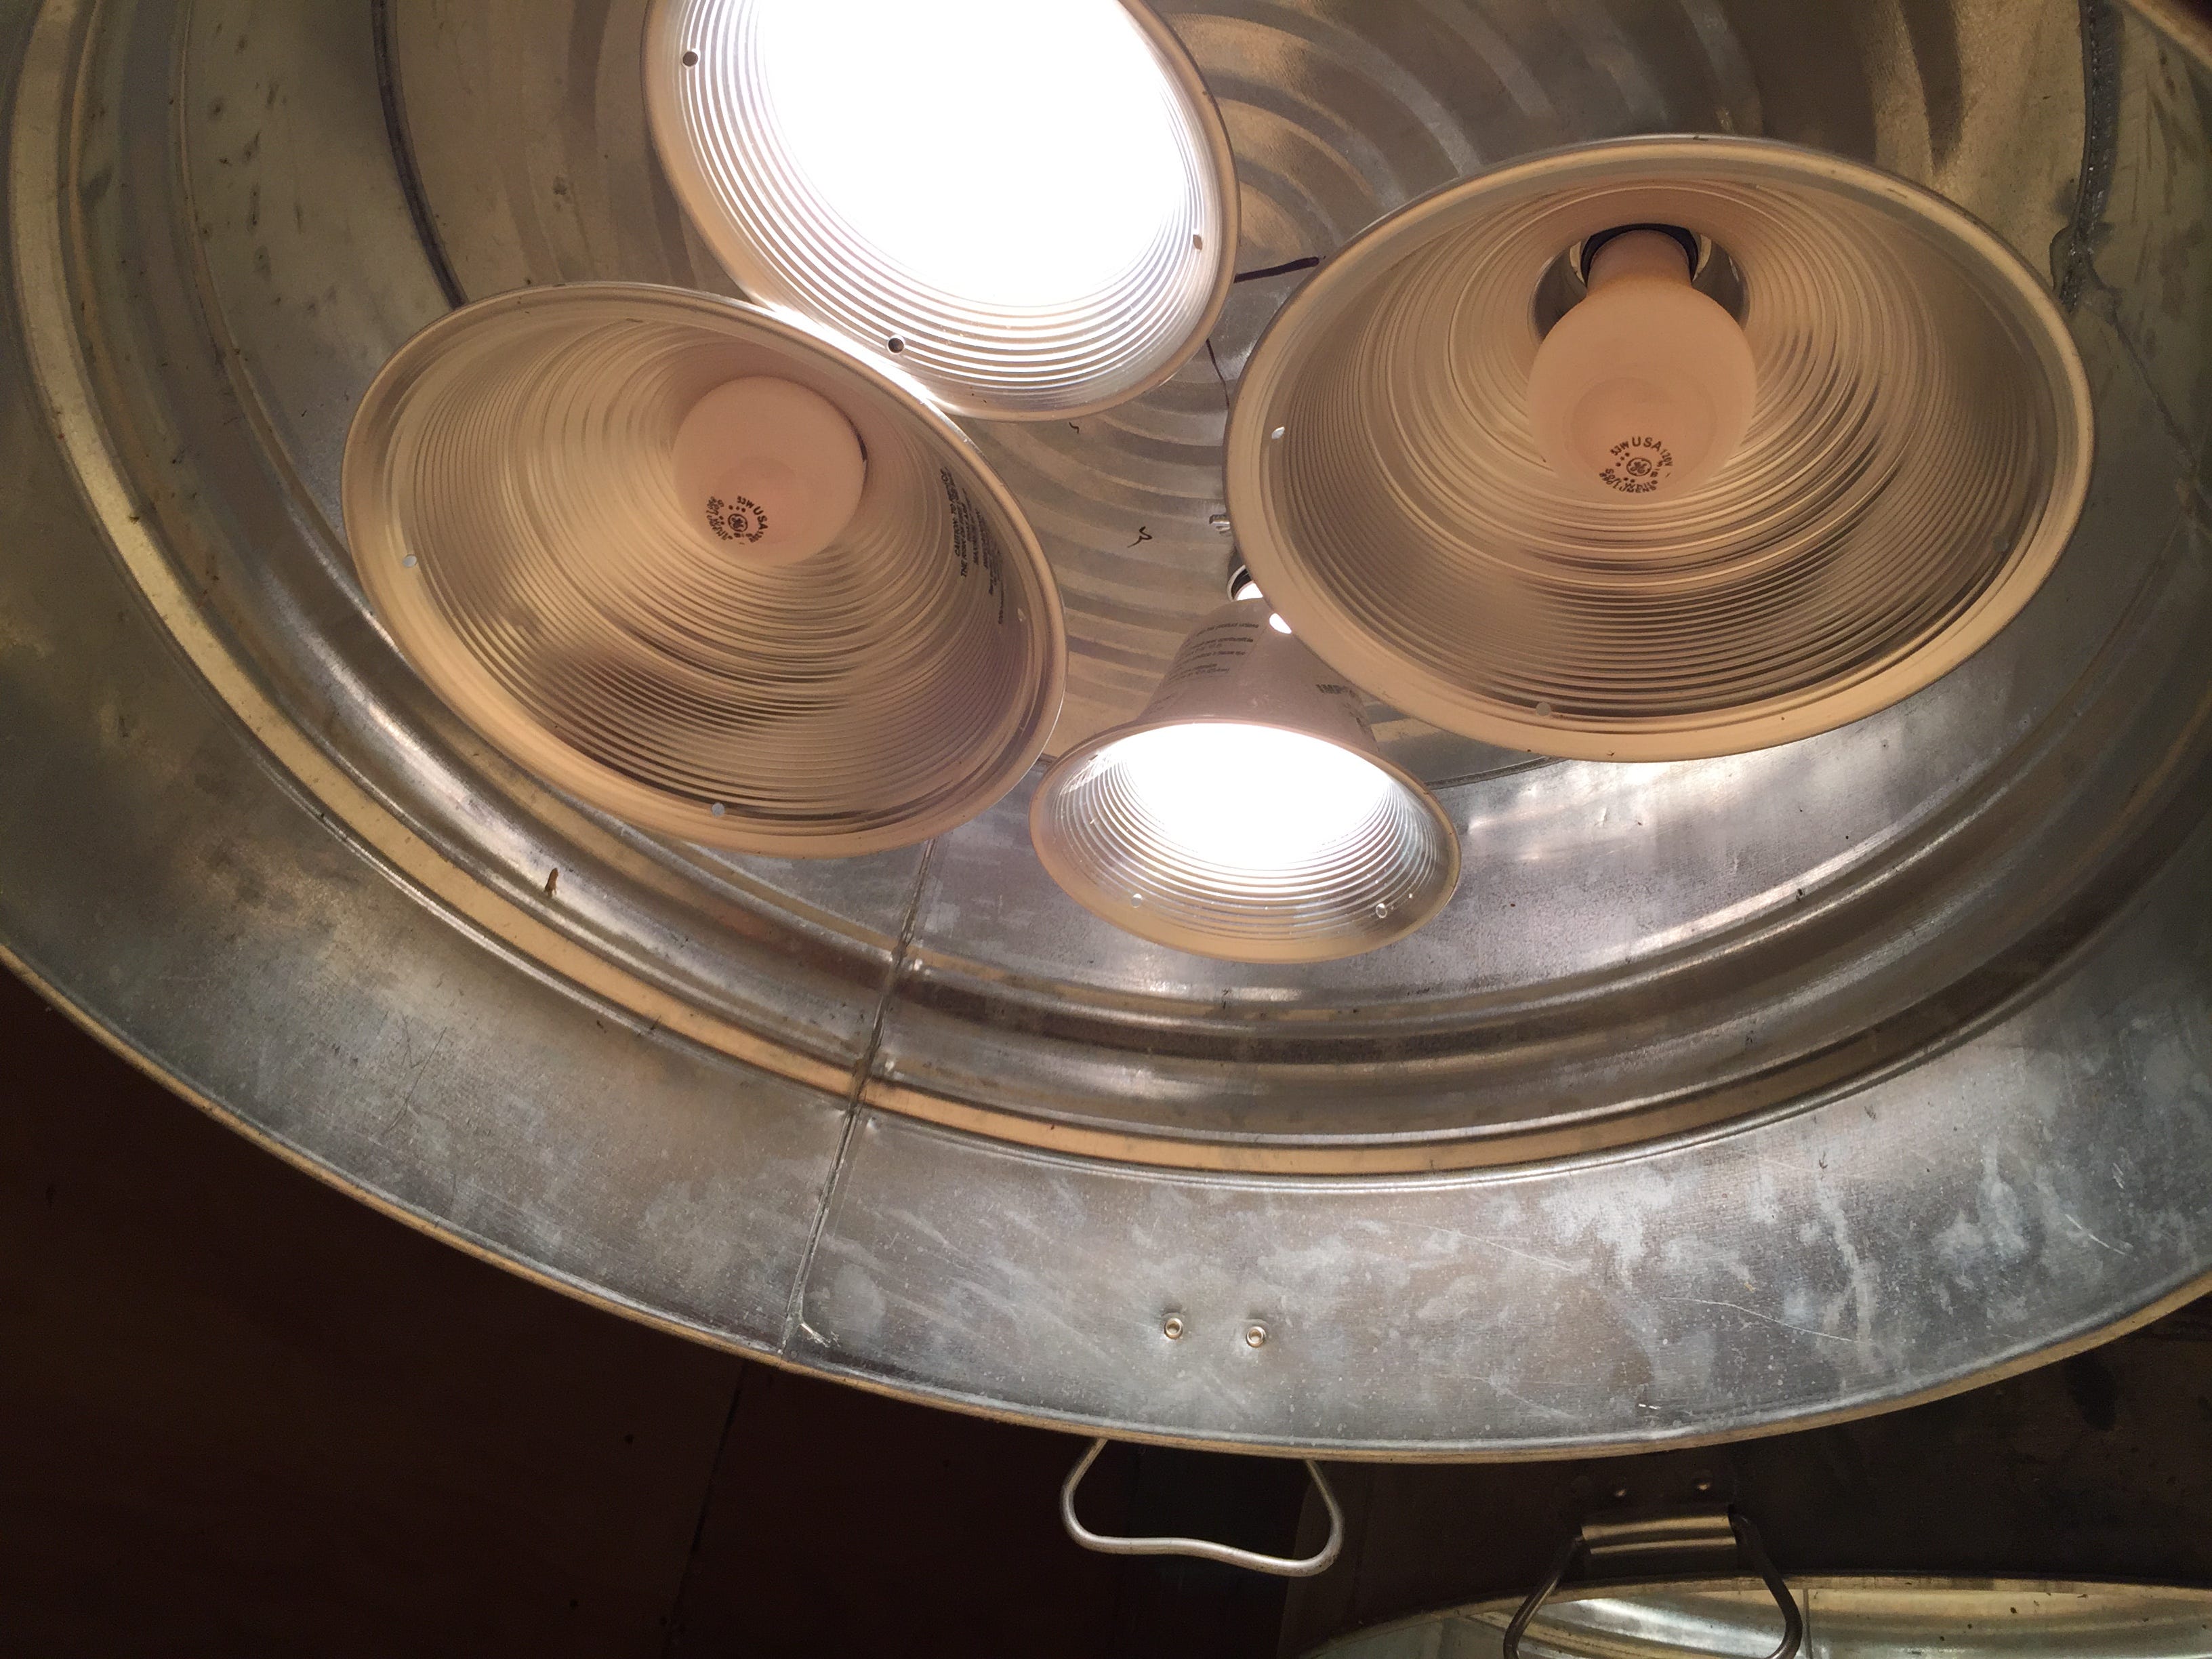
With an overhead heating source (heat lamp or hover), this taper can be achieved by raising the heating bulb higher, creating more distance between the floor and the bulb. Or with multiple bulbs (above), simply incrementally turn them off to achieve the desired heat output. If you are using a heating plate, decrease its temperature setting accordingly. Monitor the temperature on your thermometer you’ve placed floor of your brooder.
At 3 weeks of age, your chicks should be weaned from supplemental heat. As long at their environment is dry, by this stage they are able to regulate their own body temperature.
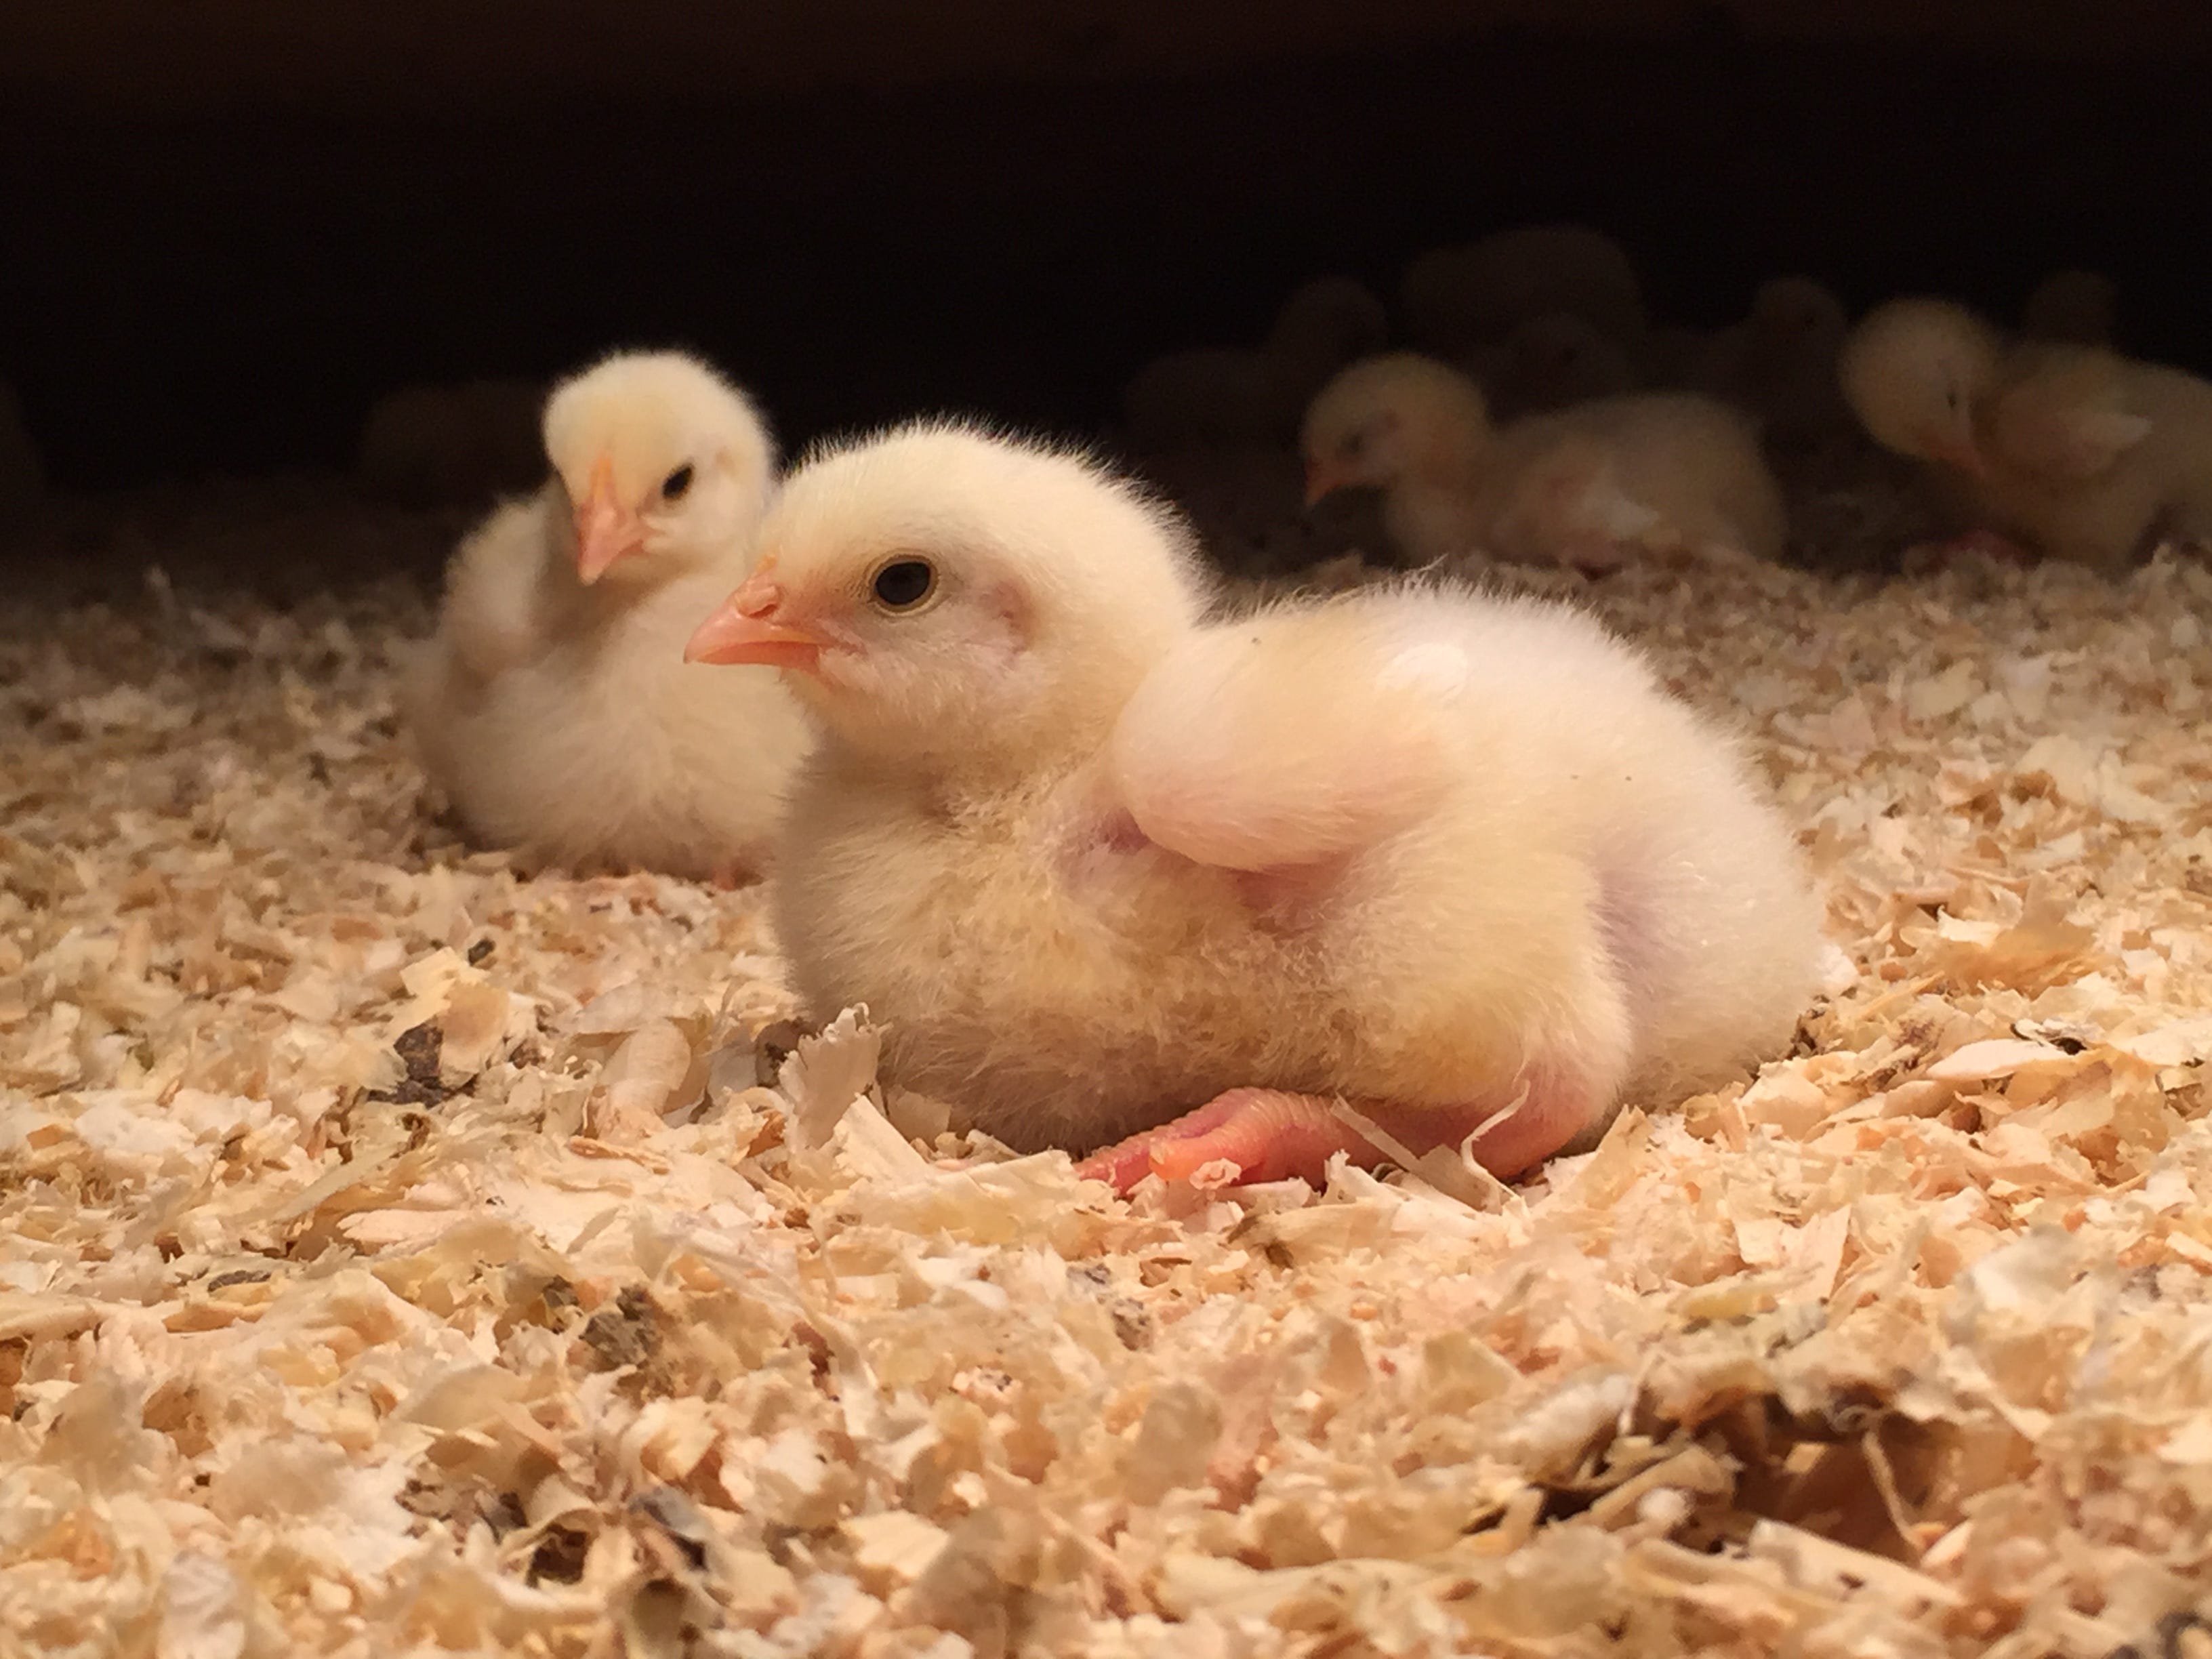
Crowd control
Chicks (meaties especially) are natural-born moshers. I kid you not. They need little excuse to pile up on one another and squish the life out of the poor guys on the bottom.
The most common reason for piling is ambient temperature being too COLD. Maintain a consistent temperature on the brooder floor, appropriate to the age of the birds, and you’ll avoid this problem for the most part.
However, there are 2 other common reasons for chicks crowd-surfing each other to death. (1) The brooder is too large - in this case, the brooder is large enough that chicks are not finding their way back to the heat source. Remedy the problem by making the brooder smaller and keeping the heat source in the center of the brooder. (2) Something is scaring them - chicks are…well…chicken. They don’t take scary noises (like a window flapping in the wind), scary shadows, or scary things with teeth. If you’ve eliminated other reasons for your chicks piling, look for the things that go bump in the night (mice, rats, cats, etc.).
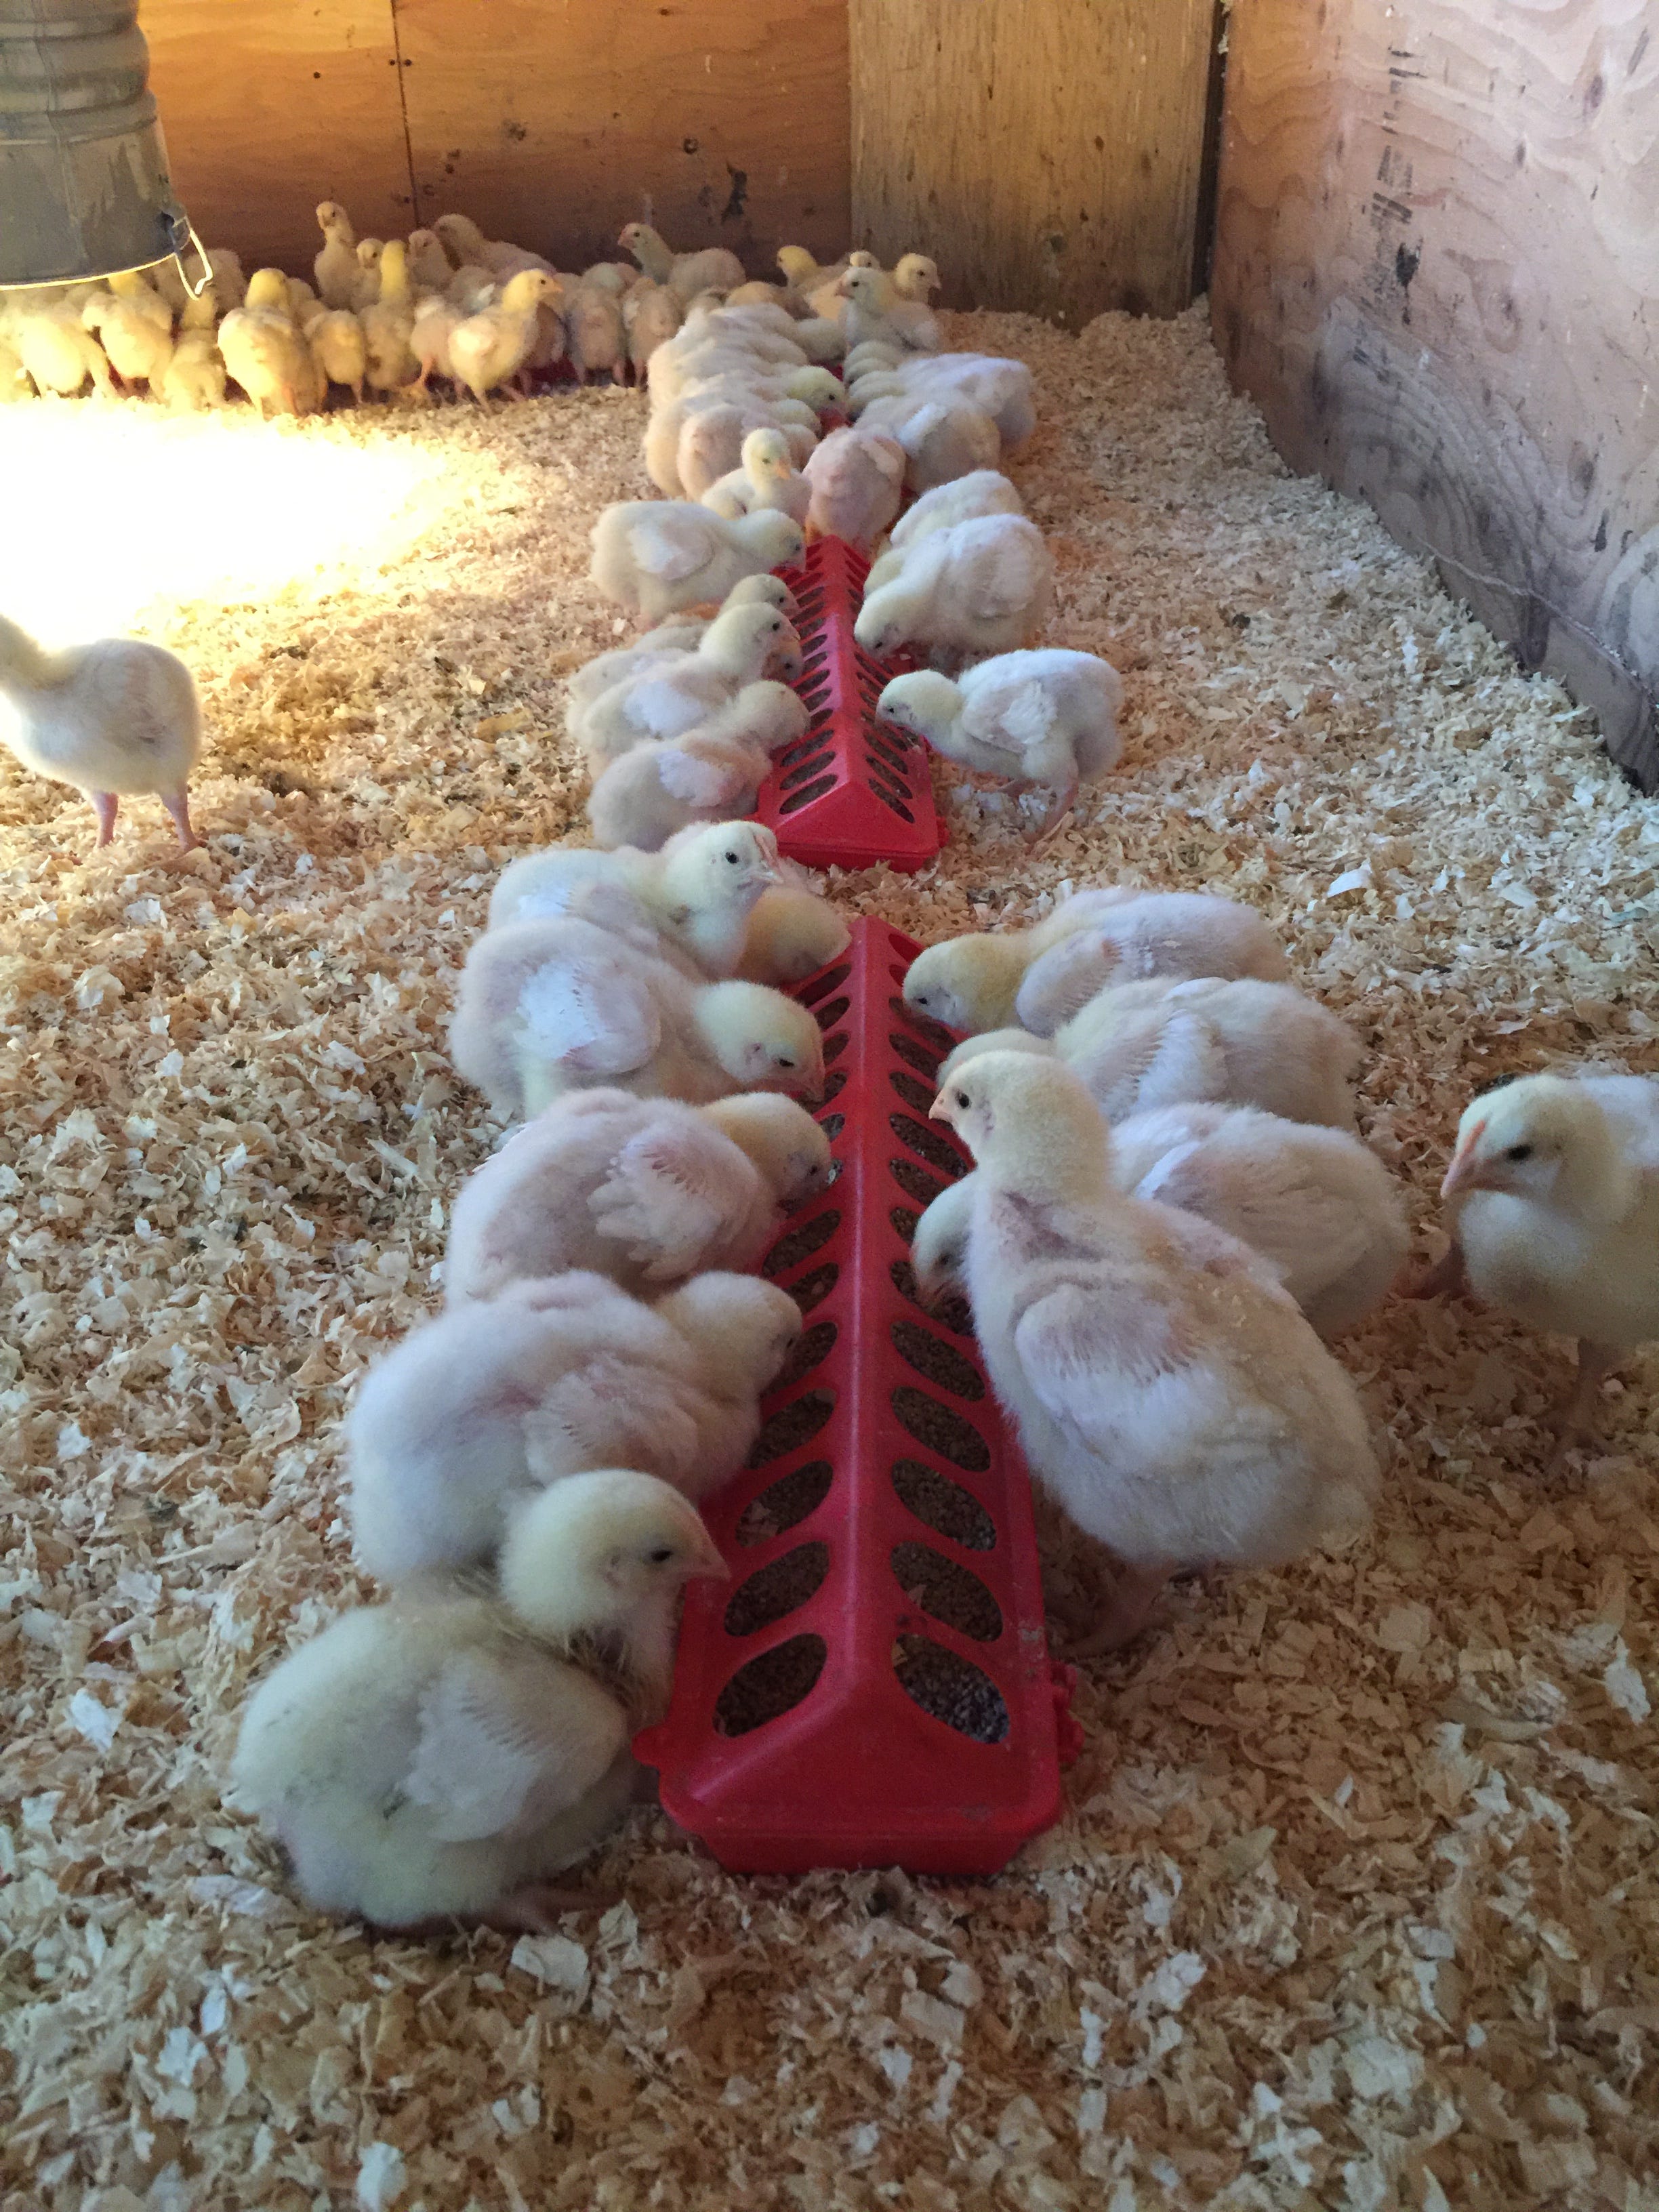
Feed
A four letter word when it comes to raising meat chicks - laying hen chicks, not so much. Meat birds eat A L O T and can be sensitive to sudden diet changes. Thus, make feed transitions and introductions to new feeds slowly, over several days.
In my experience, chick “starter” rations are ideal for chicks up to 2 weeks of age. It is usually a very fine, sometimes powdery, crumble that is easy for their little beaks to manage and a particulate small enough to make digestion simple.
At about 2 weeks, I will start to introduce a “grower” ration. You will find these in processed crumble form, as well as cracked grain form (like this one from Scratch and Peck). If you are inclined to ferment your chickens’ feed (which is great - and deserving of its own post), this is when you’ll start to introduce it.
From week 2 to week 3, gradually transition your chicks from the starter ration to the grower ration, daily decreasing the amount of starter and increasing the volume of grower. By the beginning of week 4, your chicks should be getting 100% grower feed.
We usually start by feeding them on the floor on paper, like a feed sack that’s been torn in half down to one layer. This makes the feed easily accessible and requires little energy output for the chicks. Around day 2-3, we introduce small feeders and keep them very full so the chicks are not required to stand on their toes to get to the bottom.

Don’t let your chicks run out of feed! Keep their feeders clean, with fresh feed available at all times. Hungry chicks are stressed chicks - and stressed chicks are more likely to die. Ergo, keep them fed.
Grit
The small rocks and silicates ingested by chickens essentially act as their “teeth” within their gizzard (aka. ventriculus or stomach). Thus, a chick (or chicken) without free access to grit will not digest their feed properly, and will have highly inefficient gut function. For small numbers of birds, you can purchase bags of commercially available grit, though I prefer naturally occurring grit for it’s diversity & microbial profile
If you have access to a clean creek bed, devoid of loads of pesticide run-off & pollutants, you can collect buckets of grit to take back to the brooder. Clean, natural creek sand & gravel is also full of beneficial soil microbes and minerals, which will help colonize your chicks’ intestines with appropriate microflora.
To start, simply sprinkle a thin layer of grit over the top of the chicks’ feed. After 3-4 days, they will be ready for a shallow pan or feeder filled only with grit to graze upon as they please. Again, keep it clean and chick poop-free to help avoid illness precipitated by fecal pathogens.
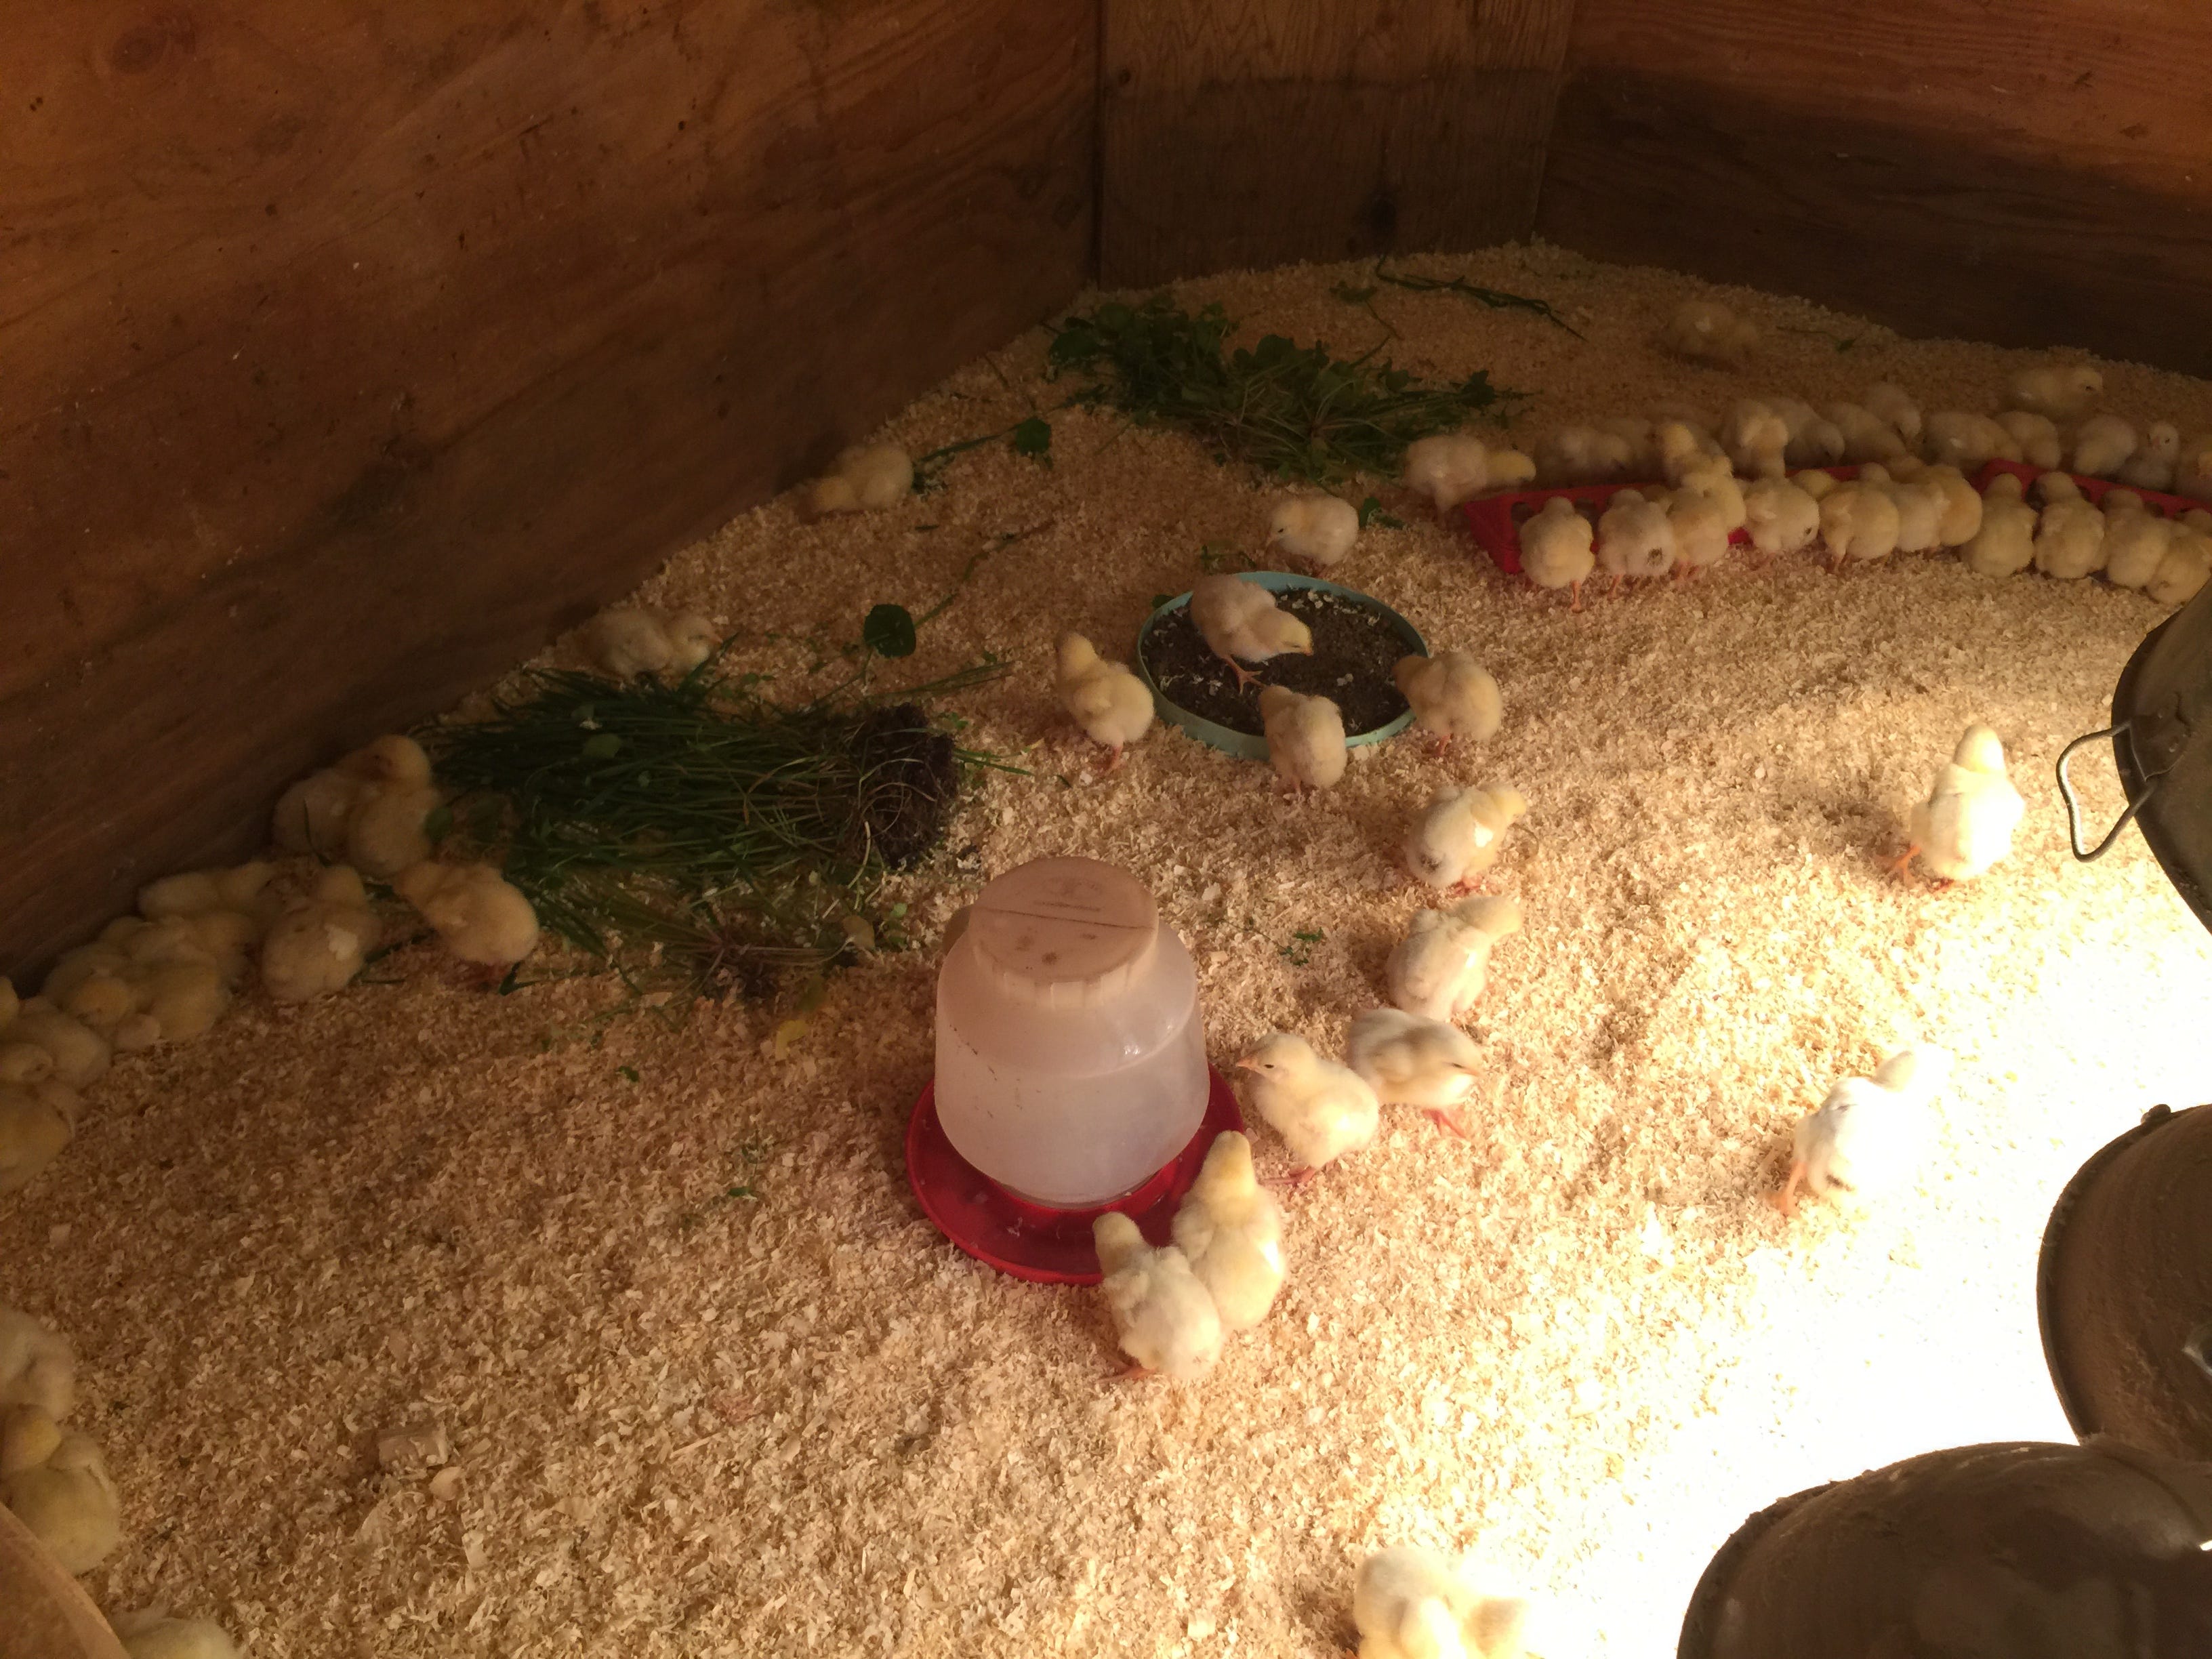
Forages & Greens
A healthy intestinal microbiome is essential. No question. And your birds are no exception. The stronger their gut microflora, the more resistant to stress the chicken will be lifelong. And the longer you raise chickens, the more you’ll come to realize that chicken farming is an exercise in chicken stress management.
Freshly-picked greens with roots ATTACHED, are an excellent source of saprophytic microbes for your chicks. They’ll pick at the green plant material, but get the greatest benefit from exploring the roots and pecking away at the adhered soil.

Once a day we will pick a few handfuls of whatever is abundant at the moment - around here, it is miners lettuce and chickweed in the spring, or spearmint, catnip, and horehound in the summer. We’ll make a few piles around the brooder and the chicks get some environmental enrichment while consuming their daily dose of probiotics.
Water + Apple Cider Vinegar
Starting with a shallow water dispenser for the first week (so the chicks aren’t falling in and swimming each time they’re thirsty), then graduating to a larger dispenser as the chicks grow, clean, fresh, cool water 24/7 is a must.
Adding organic Apple Cider Vinegar (ACV), is optional. However, it can be a very helpful supplement after about week 2. I’ve introduced it earlier and had varying results, but I’ve decided to wait until the chicks are more stable in their environment, so as not to unnecessarily cause them to avoid their water.

Organic ACV “with the mother” (aka the brown, stringy floaties) helps to maintain a proper crop pH. This in turn, aids proper digestion and decreases the risk of gut dysbiosis (overgrowth of inappropriate microflora). Add approximately 1/4 cup ACV to one gallon of water once daily, then refill with fresh water when consumed.
I have yet to read a published paper “proving” the benefits of ACV - but experientially, its demonstrated it’s value time and again. So we use it by the gallon!
Diapering
You’re feeding these little peeps, you’re watering them, they’re growing…so they’re going to poop. By week 3, you’ll be amazed at the poop layer you find on the brooder floor each morning!
Enter pine shavings - the diaper of brooder-land. Thankfully this diaper doesn’t need to be changed a dozen times a day, once daily will do the trick. Simply spread a layer of fresh shavings across your brooder floor, just thick enough to cover the top manure layer.
Your nose will tell you when you’ve spread enough. When the eau de broodér changes from ammonia-heavy to piny fresh, you’re good to go.
Strong aromatics are traumatic to birds’ delicate respiratory tracts. Thus, proper diapering will help keep the brooder air clean and easy to breathe, protecting your birds from problems like air sacculitis.
Time
Especially early on in your chicken farming endeavor, you just need to
t a k e. y o u r. t i m e.
Slow down.
Don’t rush through feeding time.
Watch your birds.
Keep that upturned bucket close by to encourage you to sit and study your chick’s interaction with their new environment.
You will learn more about your animals by purposefully observing them than you will by reading, googling, or Facebook-grouping about them.
A few years down the road, you will have become such a pro chicken farmer that all you’ll need is for your 9 year old to run in the house and tell you what she just saw in the brooder, and you’ll be able to diagnose the problem, tell her how to go fix it, and not even skip a chop while you’re dicing those onions for dinner.
But until that day comes, just enjoy your bucket-seat & glass-of-wine time. Kick your feet up on a bag of shavings and absorb the lessons farming will teach.
And don’t blink! In just a few weeks, these fluffies will be awkward, half-feathered, adolescent dinosaurs ready to venture outside.
Get the conversation started! If you have questions, I want to hear them!